The Dwarf combines reliable combat statistics with the best built-in trap-disarming ability in the original Hero party, making the Hero both a durable adventurer and the group’s safest route-clearer.
[ CORE HERO 02 ]
The Dwarf
A resilient fighter and natural trap specialist with seven Body Points, three Mind Points, a Shortsword, and no need to carry a Tool Kit.
- Role
- Trap specialist
- Body Points
- 7
- Mind Points
- 3
- Starting Weapon
- Shortsword
What Makes the Dwarf Different?
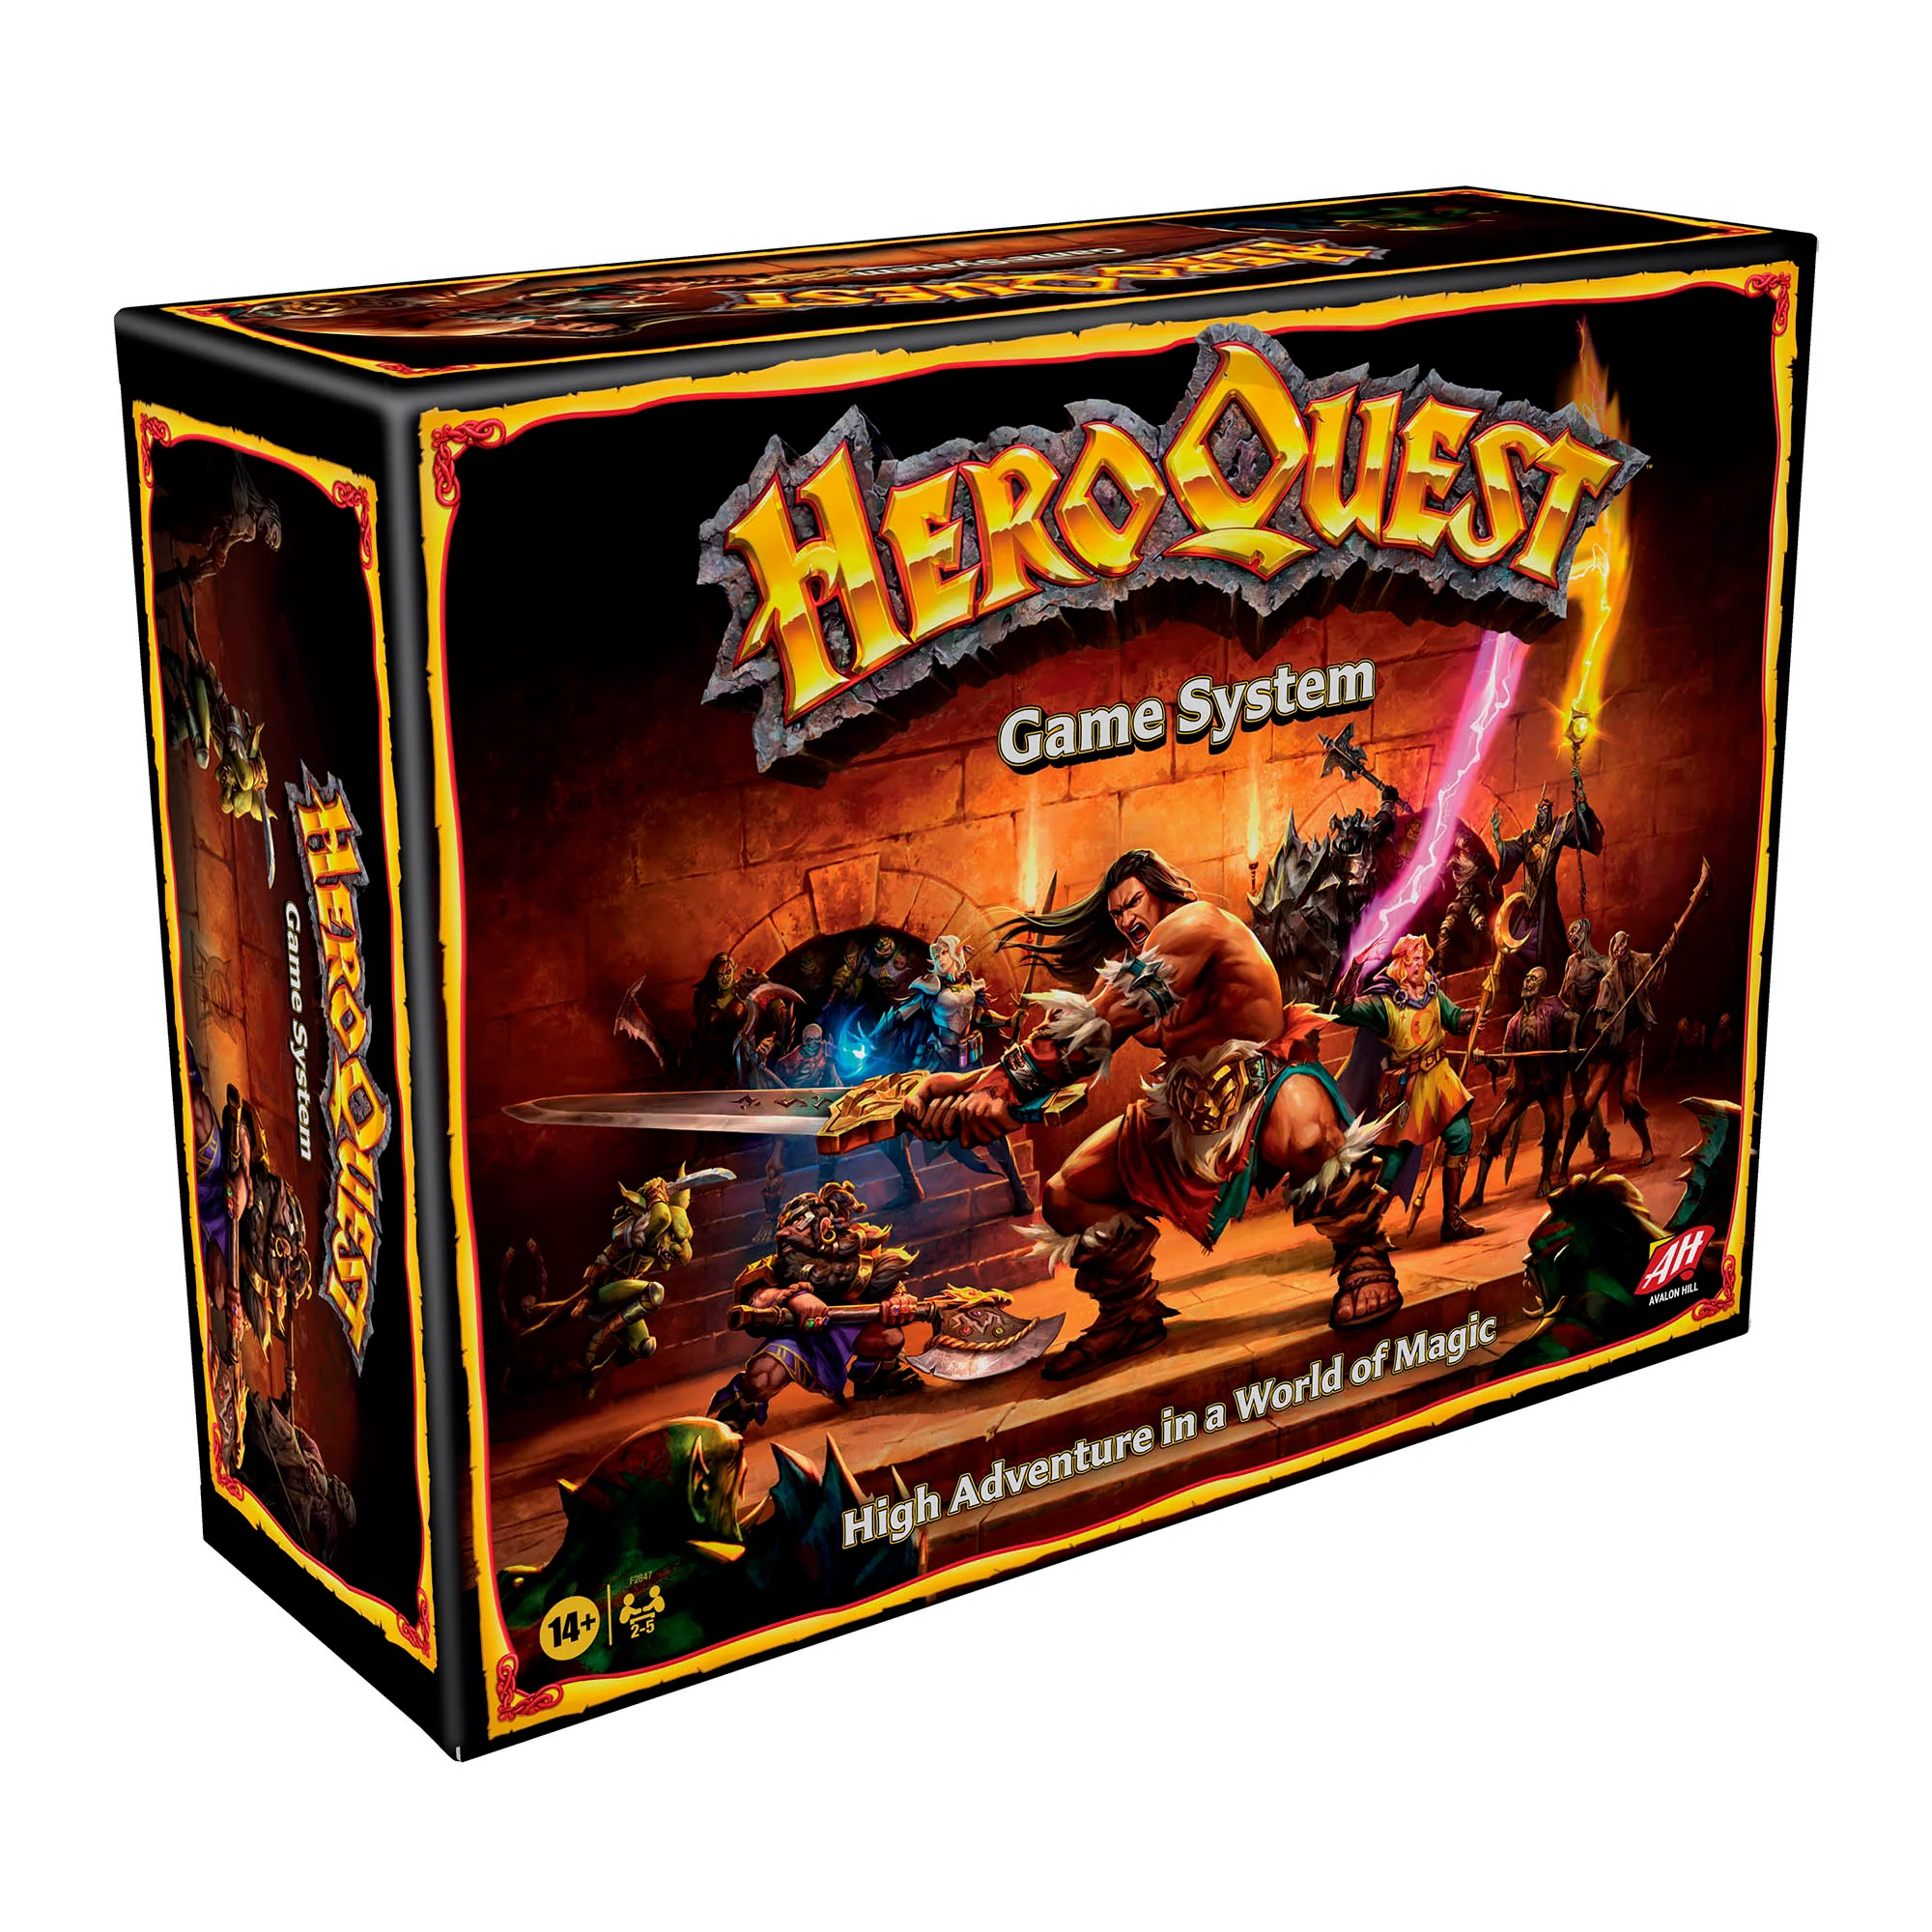
The Dwarf is one of the four Heroes included with the HeroQuest Game System. The Hero sits between the Barbarian and Elf in raw durability, begins with a modest two-die attack, and brings a unique advantage whenever the dungeon contains traps.
The Dwarf can attempt to disarm a discovered trap without buying or carrying a Tool Kit. The attempt fails only when a black shield is rolled on one combat die. This makes the Dwarf far more dependable at trap removal than a normal Hero using purchased tools.
The class remains useful after the nearby traps are gone. Seven Body Points support front-line combat, three Mind Points provide better mental resistance than the Barbarian, and unrestricted access to ordinary weapons and armour allows several equipment paths.
Dwarf Hero Profile
- Hero Type
- Core Hero
- Primary Source
- HeroQuest Game System
- Alternate Source
- HeroQuest First Light
- Movement
- 2 red dice
- Starting Attack
- 2 combat dice
- Starting Defend
- 2 combat dice
- Starting Body Points
- 7
- Starting Mind Points
- 3
- Starting Weapon
- Shortsword
- Starting Armour
- None
- Spells
- None
- Skill Cards
- None
- Special Ability
- Disarms traps without a Tool Kit
- Primary Role
- Trap specialist and secondary fighter
The Dwarf at a Glance
Strengths
- Can disarm discovered traps without carrying a Tool Kit.
- Trap-disarming attempts fail only on a black shield.
- Seven Body Points support dependable front-line play.
- Three Mind Points provide better mental resistance than the Barbarian.
- Can use the broad equipment choices available to martial Heroes.
Limitations
- Starts with only a two-die attack.
- Begins with no armour or ranged weapon.
- Cannot search for traps when a visible monster is present.
- Must move onto a discovered trap square to attempt disarming it.
- Has no spells or separate skill-card resource.
Understanding the Dwarf Profile
[ BODY ]
Seven Body Points
The Dwarf can stand near the front and survive ordinary attacks, pit damage, and other physical threats. The Hero is durable enough to support the Barbarian without needing to imitate reckless play.
[ MIND ]
Three Mind Points
The Dwarf has one more Mind Point than the Barbarian. Dread spells and later campaign hazards still deserve respect, but the Hero has a little more room before mental damage becomes critical.
[ COMBAT ]
Two Attack, Two Defend
The Shortsword and lack of armour create an average starting profile. Gold can improve either side quickly, letting the Dwarf become a balanced fighter, defensive route-holder, or heavy attacker.
A Specialist Who Still Fights
Trap expertise does not require the Dwarf to walk at the front during every combat encounter. The Hero can wait behind a tougher doorway holder, step forward when the area is safe to search, clear the intended route, then return to a fighting position.
This rhythm makes the Dwarf different from a Hero whose ability is used during every attack. The special rule becomes decisive at particular moments, then the class relies on movement, equipment, target selection, and teamwork like any other warrior.
Using the Dwarf’s Trap Ability
The Dwarf cannot disarm a trap that has not been found. A Hero must first search for traps when no monster is visible to that Hero. Zargon then identifies the traps covered by that search.
- Search before the party advances. Stop in a safe room or corridor and search when no visible monster prevents the action.
- Choose which trap matters. Not every discovered trap blocks the route. Remove the one the party needs to cross or the one guarding an important objective.
- Announce the attempt before moving. State that the Dwarf is moving onto the trap square to disarm it.
- Roll one combat die. A black shield springs the trap. A skull or white shield disarms it successfully.
- Clear the route for everyone. Once removed, let slower or more fragile Heroes pass before opening the next unknown area.
Do Not Buy a Tool Kit for the Dwarf
The Dwarf’s innate ability is better than the normal Tool Kit procedure and does not consume an inventory purchase. Save that gold for weapons, armour, potions, or a Tool Kit carried by another Hero who may need to handle traps when the Dwarf is elsewhere.
Starting Loadout and First Priorities
The Shortsword
The Dwarf begins with a Shortsword and rolls two combat dice against an adjacent monster. It is enough for Goblins, Skeletons, and other ordinary enemies, but a three-die weapon creates a noticeable improvement early in the campaign.
No Starting Armour
The Dwarf begins with two Defend Dice. Seven Body Points reduce the urgency slightly, but a Shield or Helmet helps preserve health for trap work and later rooms.
How to Play the Dwarf
The Dwarf works best as a measured advance guard. Stay close enough to inspect the route, but do not move so far ahead that the rest of the group cannot support a fight or benefit from a cleared trap.
- Let combat end before searching. A visible monster prevents the trap search. Help remove the threat, then inspect the area.
- Search the route the party will use. Focus on corridors, doors, treasure, and objectives rather than clearing every harmless corner.
- Disarm before opening the next danger. Avoid leaving a known trap behind the party during a retreat or reinforcement event.
- Return to the fighting line. Seven Body Points and ordinary martial equipment make the Dwarf a capable doorway holder after the route is safe.
- Keep the party moving. Trap safety should support the adventure, not turn every room into a long sequence of repeated searches and delays.
Search at Natural Pauses
The best time to search is after monsters have been defeated and before the next unopened door. This keeps trap work connected to the party’s movement instead of forcing the Dwarf to double back through several rooms.
Disarm the Route, Not the Entire Map
A discovered trap that no Hero needs to cross can often be left in place. Spend the action when removal protects treasure, an objective, an escape route, or a square the party expects to use.
Fight Beside the Barbarian
The Dwarf can hold a second doorway, protect a flank, or replace an injured Barbarian at the front. The Hero has enough Body Points to share danger, but should still avoid being surrounded by several monsters.
Dwarf Equipment Paths
The Dwarf’s starting profile leaves room for several useful builds. A Broadsword and Shield create a dependable all-purpose Hero, a Longsword adds diagonal reach, and a Battle Axe turns the Dwarf into a heavier attacker at the cost of Shield use.
[ BALANCED ]
Broadsword and Shield
Three Attack Dice, improved defence, and no movement penalty. This route supports trap work and front-line combat across most campaigns.
[ POSITIONAL ]
Longsword and Shield
Keep a three-die attack and gain diagonal reach. The Dwarf can fight from behind another Hero or attack across awkward furniture and doorway positions.
[ OFFENSIVE ]
Battle Axe
Roll four Attack Dice against adjacent monsters. The Battle Axe cannot be combined with a Shield, so this route relies more heavily on armour and Body Points.
Armour and Utility Progression
- Shield: a strong early purchase for any one-handed weapon path.
- Helmet: adds defence without changing weapon choice or movement.
- Chain Mail: raises the Dwarf’s base Defend value and keeps normal movement.
- Plate Mail: provides strong protection but reduces movement to one red die.
- Crossbow: gives the Dwarf a ranged option after the route has been cleared.
- Tool Kit: buy one for another Hero, not for the Dwarf.
Dwarf Strategy and Party Synergy
Let Another Hero Reveal the Room
The Barbarian, Knight, or another durable Hero can open a dangerous door and absorb the first wave. Once the room is clear, the Dwarf can search and make the route safe for everyone.
Protect Fragile Heroes From the Floor
Trap damage is especially costly for the Wizard, Bard, Warlock, and other low-Body-Point Heroes. Clear the squares they need for line of sight, treasure searches, or retreat before asking them to move forward.
Coordinate With Other Specialists
The Rogue, Explorer, and Heroes carrying a Tool Kit can help when the party splits. Decide who handles each branch rather than sending every trap specialist down the same corridor.
Use Movement Spells With Heavy Armour
Swift Wind and similar effects help a Plate Mail Dwarf reach the front, cross a long corridor, or return to the party after disarming a distant trap.
Share Gold After the Core Build Is Ready
A Broadsword, Shield, Helmet, and suitable armour give the Dwarf a complete role. Later treasure may create a larger improvement when spent on the Wizard, Elf, or another under-equipped Hero.
Using the Boons of Heroism With the Dwarf
The Dwarf’s best boons support two jobs at once. The Hero must remain dependable in a fight, yet still have the movement and durability to search dangerous routes and disarm the traps the party needs removed. Weapon Expert fixes the Dwarf’s modest starting attack, Hold the Line turns the Hero into a stronger route-holder, and the Dewdrop Inn provides a larger reserve for traps and front-line combat.
[ BEST DEFAULT ]
Training Barracks
Weapon Expert adds one Attack Die whenever the Dwarf attacks with the selected weapon type.
[ BEST FOR CONTROL ]
Hopekins Keep
Hold the Line gives the Dwarf a chance to wound monsters that move away from the eight surrounding spaces during Zargon’s turn.
[ BEST FOR SURVIVAL ]
Dewdrop Inn
Two extra maximum Body Points raise the Dwarf from seven to nine and make failed disarms or prolonged front-line battles easier to survive.
Weapon Expert Turns the Dwarf Into a Complete Fighter
Weapon Expert is the strongest choice for most quests. The Dwarf begins behind the Barbarian in attack strength, and one extra die closes that gap without changing the Hero’s trap ability. It remains useful after every room has been searched and every trap on the route has been removed.
- Shortsword raises the starting attack from two dice to three. This is useful early, though selecting a weapon the Dwarf plans to replace can waste the boon later.
- Broadsword rolls four Attack Dice and remains compatible with a Shield. This is the best balanced choice for a Dwarf serving as both trap specialist and secondary front-line fighter.
- Longsword rolls four Attack Dice with diagonal reach. The Dwarf can attack from behind the Barbarian or across awkward furniture without taking the lead square.
- Battle Axe rolls five Attack Dice. This gives the Dwarf serious power against Ogres, Dread Warriors, and bosses, though the Shield cannot be used with it.
- Crossbow rolls four Attack Dice at range. It suits a Dwarf who clears the route, then fights from behind the main line.
For example, a Longsword Dwarf can search and disarm the corridor leading to a room, let the Barbarian occupy the doorway, then attack diagonally with four dice from the safe square behind the front line. A Broadsword Dwarf can take the doorway instead, attack with four dice, and retain a Shield for the attacks that follow.
Hold the Line Makes the Dwarf a Route Warden
Hold the Line fits the Dwarf’s place near doors, corridors, and cleared passages. Each time a monster on Zargon’s turn moves away from one of the eight spaces surrounding the Dwarf, one combat die is rolled. A skull inflicts one Body Point of damage on that monster.
The skill does not improve the Dwarf’s normal attack, and it produces no benefit when monsters remain beside the Hero. Its strength appears when enemies retreat, reposition toward a weaker Hero, or try to leave the Dwarf after the party has opened a second front.
Imagine the Dwarf standing inside a cleared doorway with the Wizard several squares behind. An Orc moves away from the Dwarf during Zargon’s turn to pursue the Wizard. Hold the Line may inflict the Orc’s only Body Point before it reaches the rear of the party. Against a multi-Body-Point monster, the free damage can soften the target for the Barbarian or Elf.
The Dwarf’s armour path matters here. A Shield, Helmet, and Chain Mail help the Hero remain in the central square that makes movement costly. Plate Mail creates a sturdier anchor, though its reduced movement can make it harder to reach the best position before the monsters begin to scatter.
Dewdrop Inn Protects the Party’s Trap Specialist
The Dewdrop Inn raises the Dwarf’s maximum Body Points from seven to nine. The gain supports front-line fighting, but it has extra value on the Hero who may step onto a discovered trap square and risk springing the trap on a black shield.
Suppose the only route to an objective crosses a Spear Trap and the Dwarf has already lost several Body Points. At seven maximum Body Points, another poor result may force the Hero to spend healing before the route is safe. At nine, the Dwarf has more room to attempt the disarm, absorb the printed consequence, and remain fit for the battle beyond the hazard.
This boon is a strong selection for trap-heavy quests, long maps, solo or two-Hero play, and adventures where the party has little healing. It gains more value from good armour. Extra Body Points last longer when a Shield, Helmet, or Chain Mail reduces the damage arriving between searches.
The Remaining Boons
- Peacekeeper’s Tower Peacekeeper can fund the Dwarf’s Broadsword, armour, or Crossbow. It ranks below the leading choices since searching and disarming consume actions that another front-line Hero may spend defeating monsters.
- Wandering Monsters’ Mercenary Guild A free Mercenary can guard the party when the Dwarf leaves formation to clear a side route. The Mercenary returns to the guild when the Dwarf chooses another boon.
- Sharp Shooters Archery Range Deadeye is useful for a dedicated Crossbow Dwarf who wants to fire through the Barbarian or clustered monsters. It provides no help during trap work or melee attacks.
- Witch’s Hut A repeatable Potion of Healing is sensible preparation before a trap-heavy quest or campaign finale. It builds a supply rather than improving the Dwarf’s regular actions.
- Cathedral of Hope The Dwarf cannot use the spell-healing benefit. Letting an adjacent Hero use one of the Dwarf’s healing potions at zero Body Points can save an ally, though the trigger is too narrow for most quests.
- The Arcane Library The additional spell set is restricted to spellcasting Heroes, so the Dwarf is not eligible for this boon.
Guidance for Zargon
The Dwarf can remove many discovered traps safely, but that ability should create meaningful choices rather than an arms race of unavoidable damage and surprise exceptions.
Campaign Use and Recommended Adventures
The Dwarf is available from the beginning of the Game System and can join nearly every HeroQuest campaign. First Light provides another starting point with the same classic party roles and a different opening adventure.
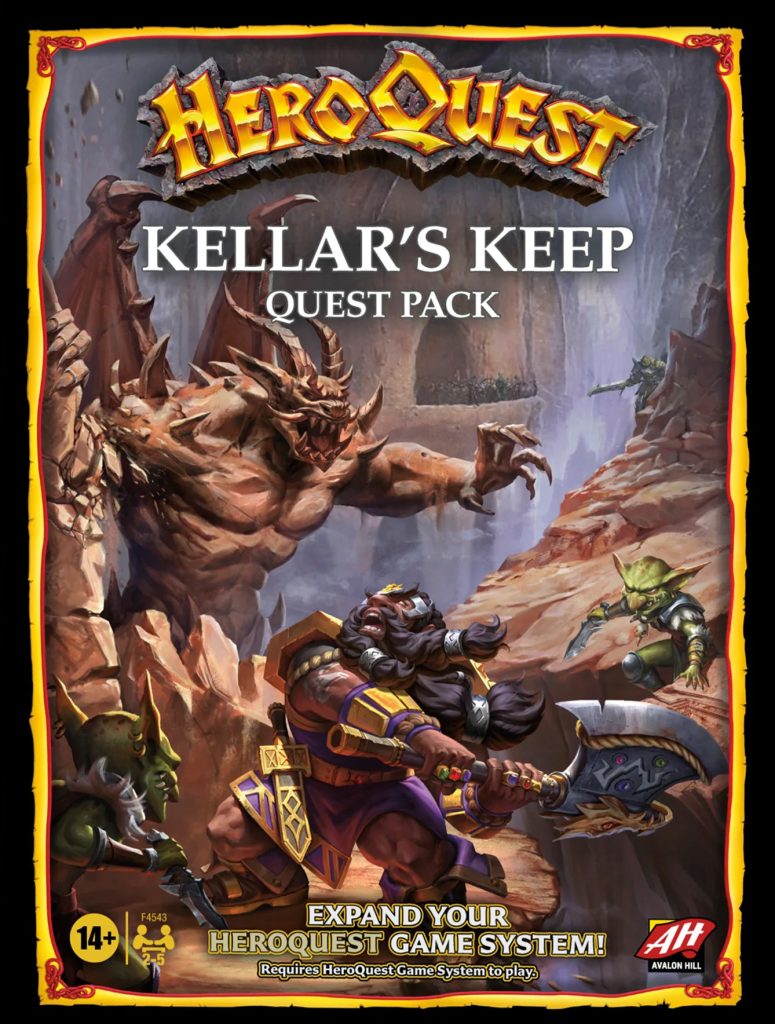
No current retail quest pack is built exclusively around the Dwarf. Kellar’s Keep is still a natural showcase for the Hero. Its underground passages, traps, blocked routes, boulders, and linked dungeon journey give the Dwarf frequent chances to protect the group.
[ CORE CAMPAIGN ]
HeroQuest Game System
Learn the search and trap rules gradually through the original 14-quest campaign.
[ ALTERNATE START ]
HeroQuest First Light
Use the Dwarf in the alternate Game System and its new introductory campaign.
[ RECOMMENDED CAMPAIGN ]
Kellar’s Keep
Guide the party through underground passages filled with hazards, blocked routes, and dangerous terrain.
[ CONTINUE EXPLORING ]
Related HeroQuest Guides
Questions or Corrections?
This guide is intended as a practical starting point for the Dwarf. The Hero card, Boon cards, Equipment and Artifact cards, Game System rules, current Quest Book, and Zargon’s ruling remain the sources used during play.
Send corrections, alternate equipment paths, Boon combinations, or tested Dwarf strategies through the contact page.