Some time ago, when this pandemic started, I found myself spending way more time than normal at home. To fill up some of this time, I decided to build a custom HeroQuest board. For some background, you can read about why I needed a new board in My Tragic HeroQuest Story.
I’ve been chronicling my journey with building my custom board at Ye Olde Inn: http://forum.yeoldeinn.com/viewtopic.php?f=143&t=5267. I thought that I would share some more detailed build information here.
Check out the Crafting Supplies page to see what tools and materials I use in my custom builds.
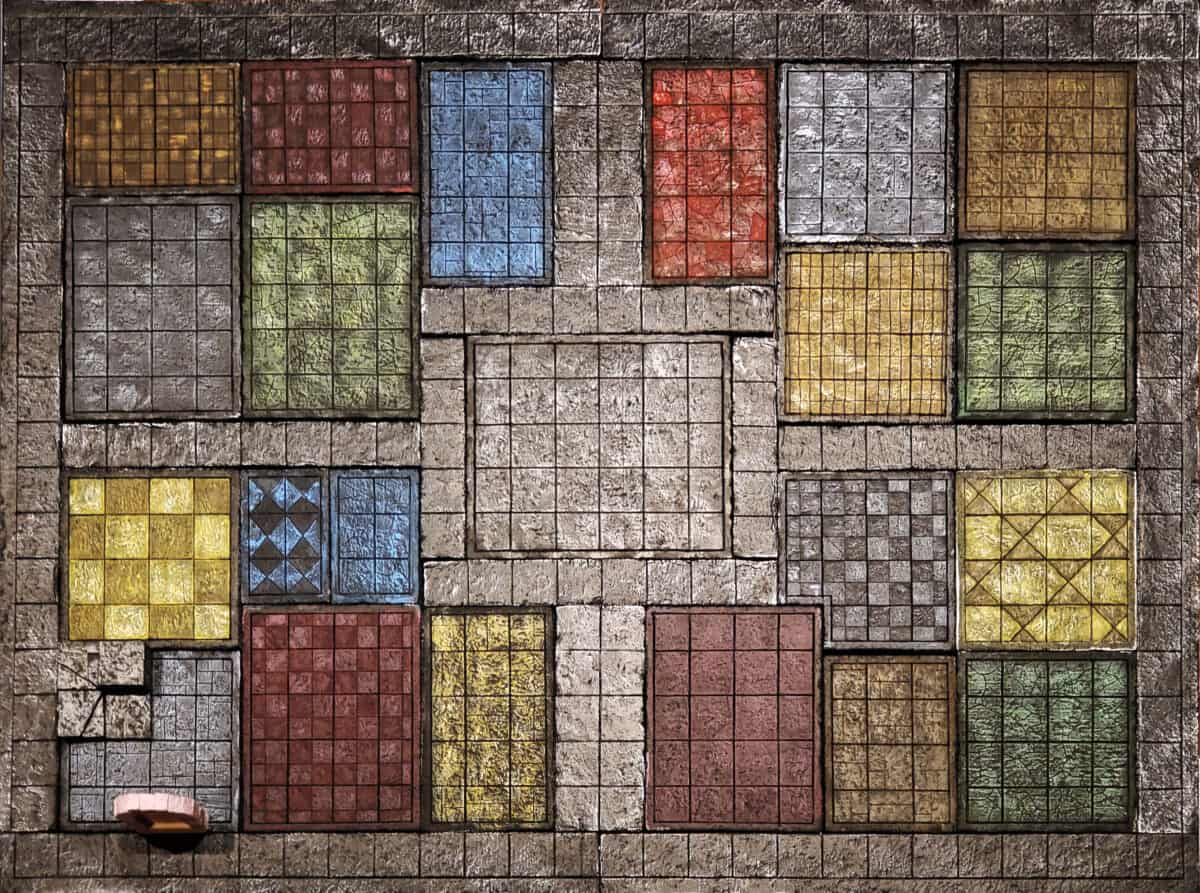
My plan is to recreate the entire HeroQuest board, tiles, and furniture pieces. I don’t have any miniatures right now, but someday plan on getting some. With this in mind, I wanted to make sure there was a lot of room for them on the board. Standard mini’s have 1inch bases, I decided to make a 1.25inch grid for my board.
Custom HeroQuest Board Construction
The board is constructed out of 1inch thick XPS insulation foam. This is the type of foam used to insulate exterior walls in basements. If you’re going to go the same route with your project, there are a few things to keep in mind:
- This foam takes texture well, you can use various instruments to texture it: pens, pencils, pins or nails, balled up aluminum foil creates a great stone texture, or you could throw rocks at it.
- This material is extremely light weight. It will move around easily when playing a game with it.
- The material is easy to cut with a utility knife, or xacto knife. Keep in mind that you should use a very sharp blade. Despite being a soft material, it does tend to dull blades fairly quickly. Using a full blade will result in the material tearing instead of cutting.

I’ll create some more posts about other aspects of the build and make a list here:
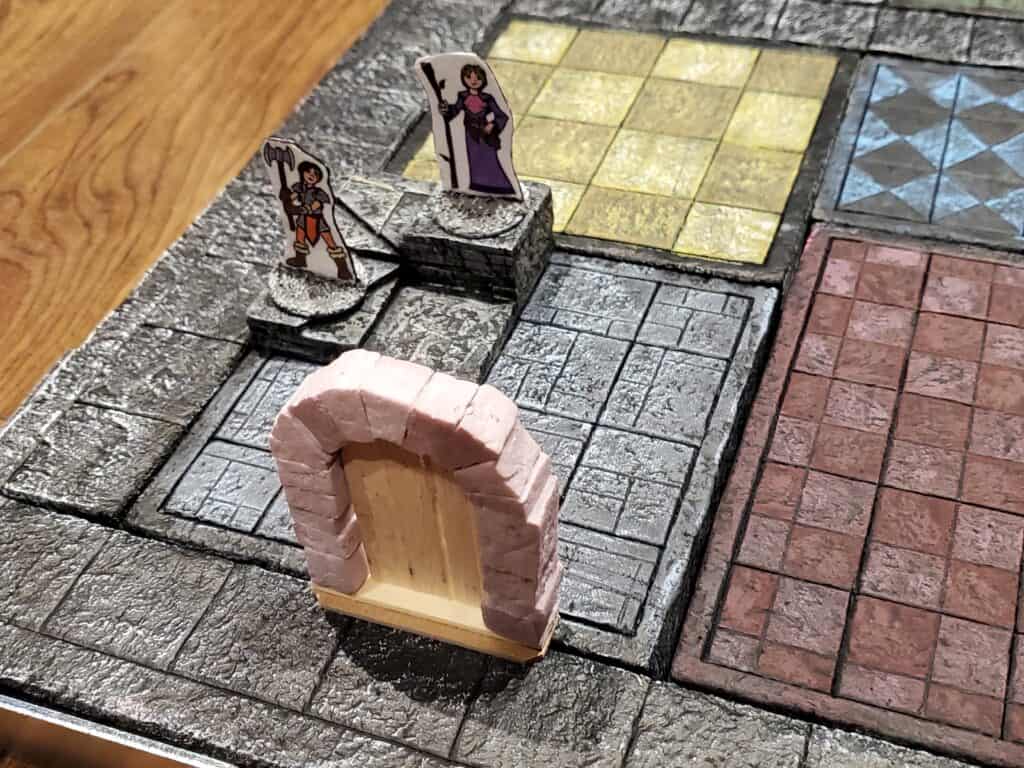
beautiful i love the stand up player design and board .