Next up in my Custom HeroQuest Board series, the HeroQuest Weapon Rack. I started the HeroQuest weapon rack completely by accident. Looking through my package of jumbo craft sticks, I found one that had a pretty severe cup in it. I almost threw this stick into the garbage, then discovered it’s the perfect shape for a shield.
Check out the Crafting Supplies page to see what tools and materials I use in my custom builds.
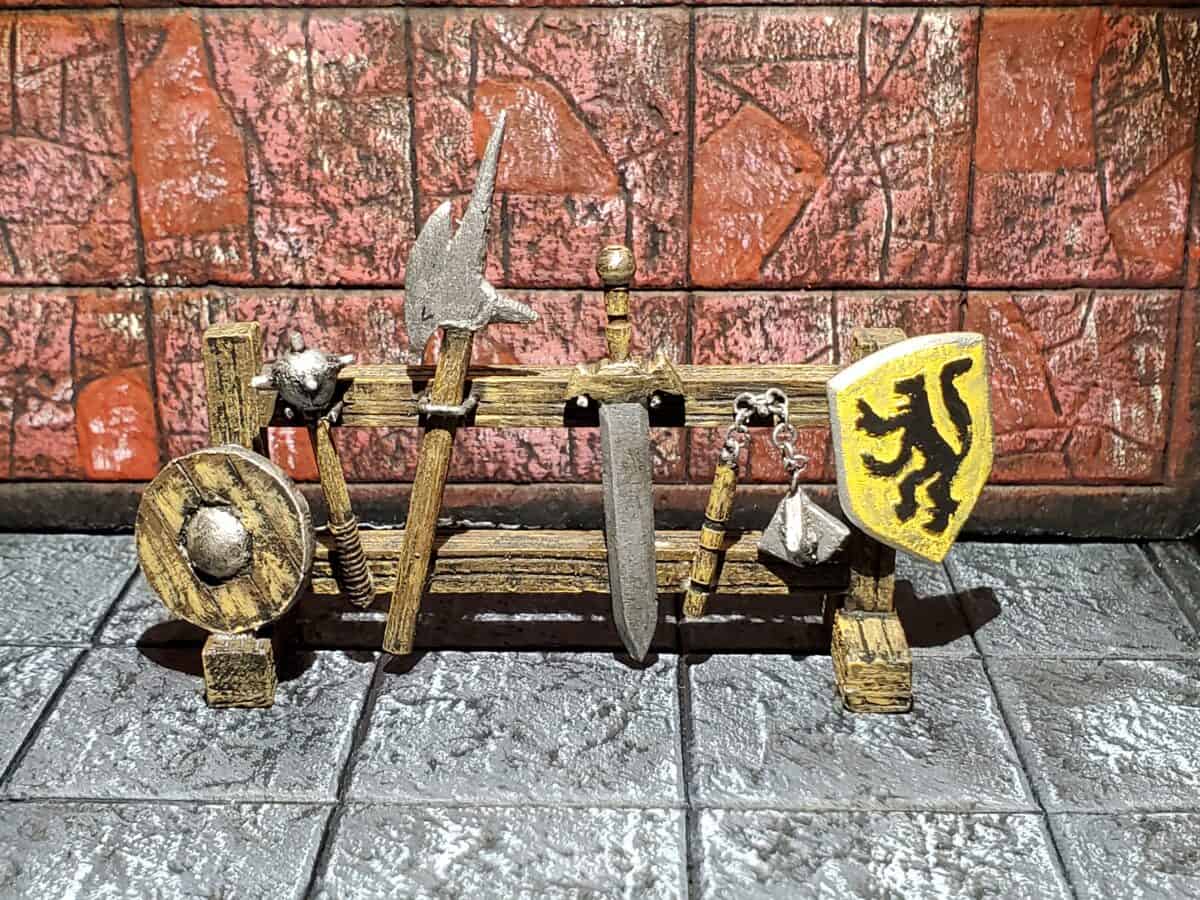
The Accessories
I created and painted each of the items on the HeroQuest weapon rack separately. The handles, I constructed from toothpicks and skewers. The mace handle I wrapped with thread for the grip.
Using my bent out of shape tongue depressor, I cut it into the shape of a nice large kite shield. The round wooden shield, I made from a bead cut in half and glued to a .75 inch metal washer. I glued the tips of toothpicks to a bead to make the mace head, and the flail head I made from pieces of popsicle stick cut into triangles and glued together. The chain I made from 23 gauge steel wire. I wrapped the wire around a nail to form rings, then cut them and chained them together painstakingly.
The sword and halberd gave me the most trouble. I spent a lot of time trying to shape the halberd from another tongue depressor. The sword is a popsicle stick that I split down the middle and beveled the edges. Believe it or not, the crossguard is what gave me the most trouble. It’s such a small piece that it kept breaking on me when I carved the shape.
Finally, every piece is finished, I’m ready to paint and then assemble.
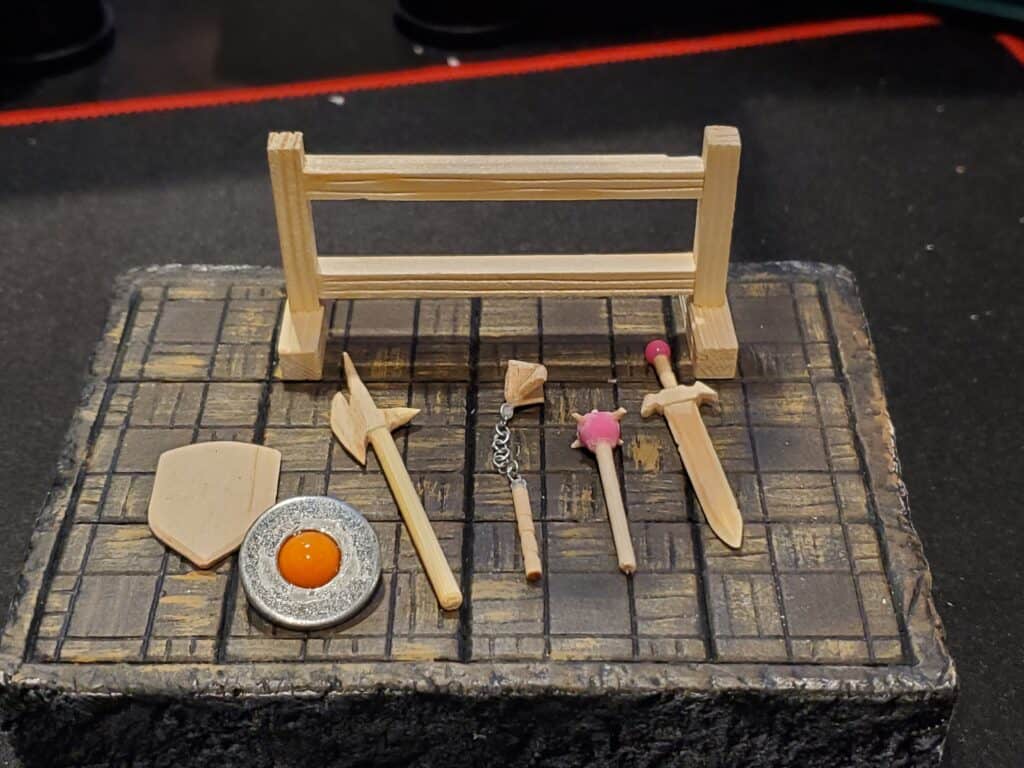
The Rack & Assembly
The rack, I assembled using square wooden dowels. It’s a simple frame structure with two feet across the bottom to hold it up. Before cutting the dowels to length, I carved in some fake wood grain using a small screwdriver.
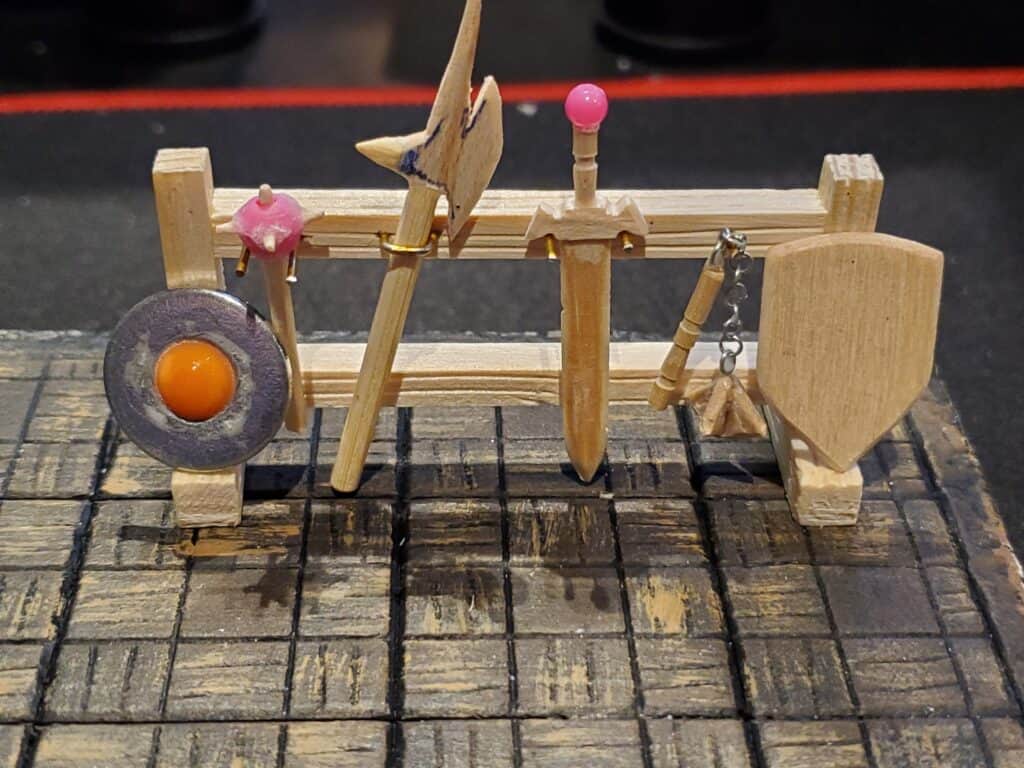
I made some simple pegs to hold the weapons on the rack. The pegs are made out of some standard copper wire. You can find this wire at your local hardware store, or salvage some from inside your walls if you are really desperate to get your hands on some. (Don’t actually do this, it could be fatal…).
After the glue dried, I painted everything, still apart at this stage. For the woods, I painted similar to how I did the tables previously. See: Tables and Throne. All the metals I painted using metallic paints and gave them a dark wash after. Once the paint is dry, I used superglue to fasten the accessories to the rack.

You can checkout more about HeroQuest, and the rest of my custom set over at Ye Olde Inn.