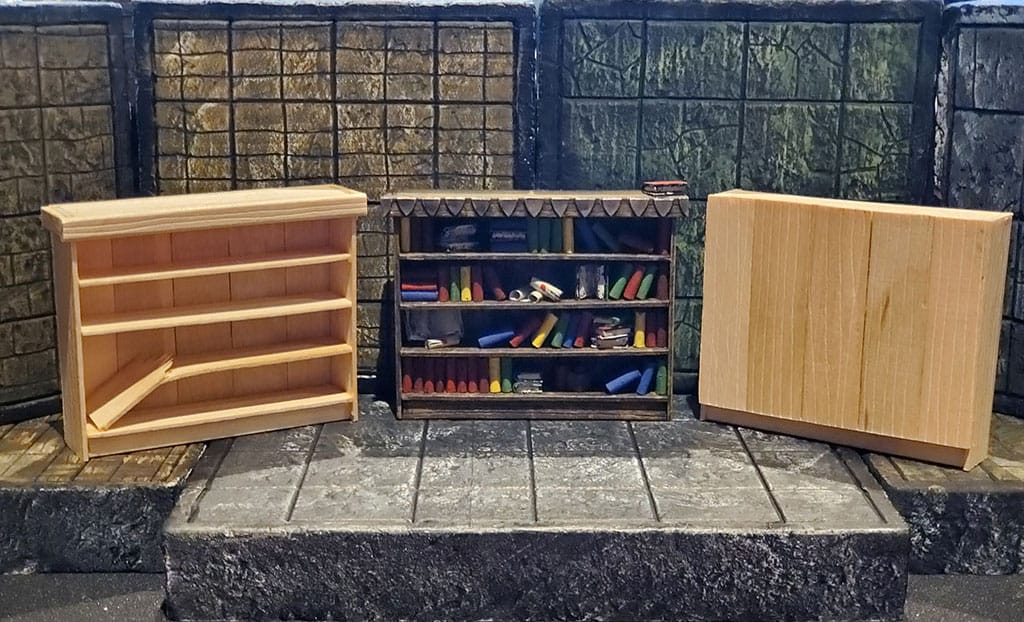
Next up, I’ll work on the HeroQuest bookcase and cupboard.
I’m continuing with the wood theme for these items. I’ve seen people make them out of foam, but I think tongue depressors and coffee stirrers are my best bet here. I’ve also seen them made from popsicle sticks, but I think that’s too small for my tastes.
Check out the Crafting Supplies page to see what tools and materials I use in my custom builds.
The Book Cases
Let’s start with the bookcases. I knew from the start that I wanted to have detailed individual books. I did a lot of research on how to accomplish this and finally settled upon a method by the YouTuber TheDMGInfo. To see how I made the books, watch his video here:
This was a very tedious process and took a while. I really should have taken a picture of my bucket full of books, but by that point, I didn’t want to look at them anymore!
Now that I had the books made, I used them to find the measurements for my shelves. I knew I wanted there to be 4 shelves. I stacked the books 4 tall and added some space in between for the tongue depressors, remembering to add a little additional space above each one so it wasn’t too tight of a fit.
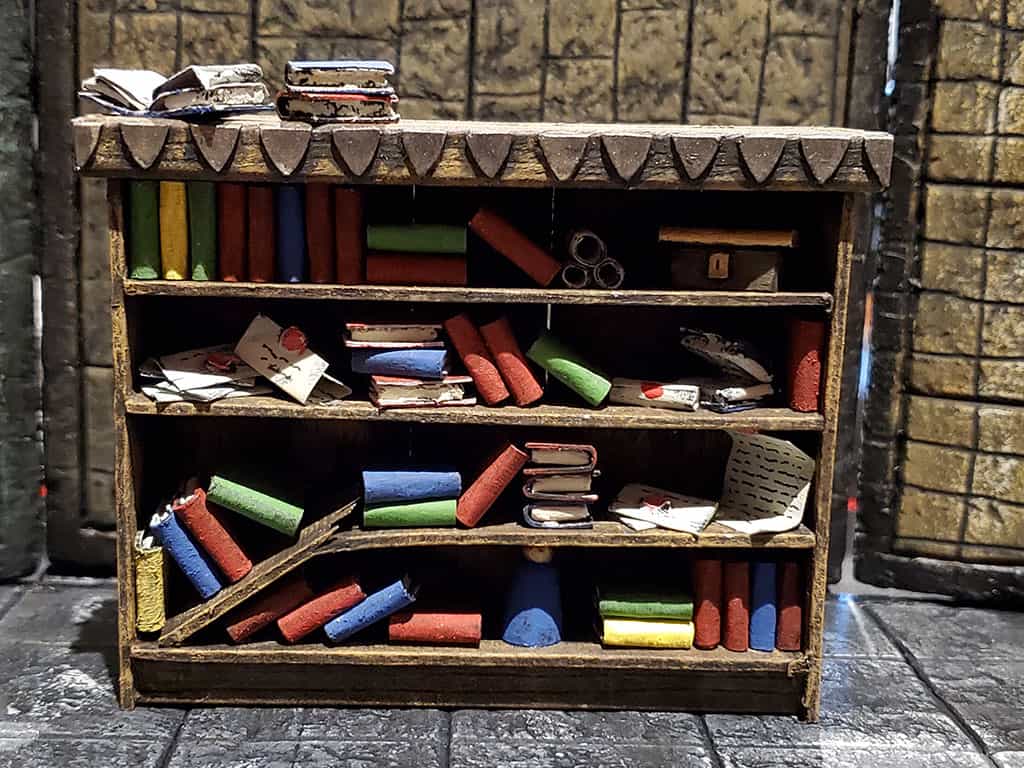
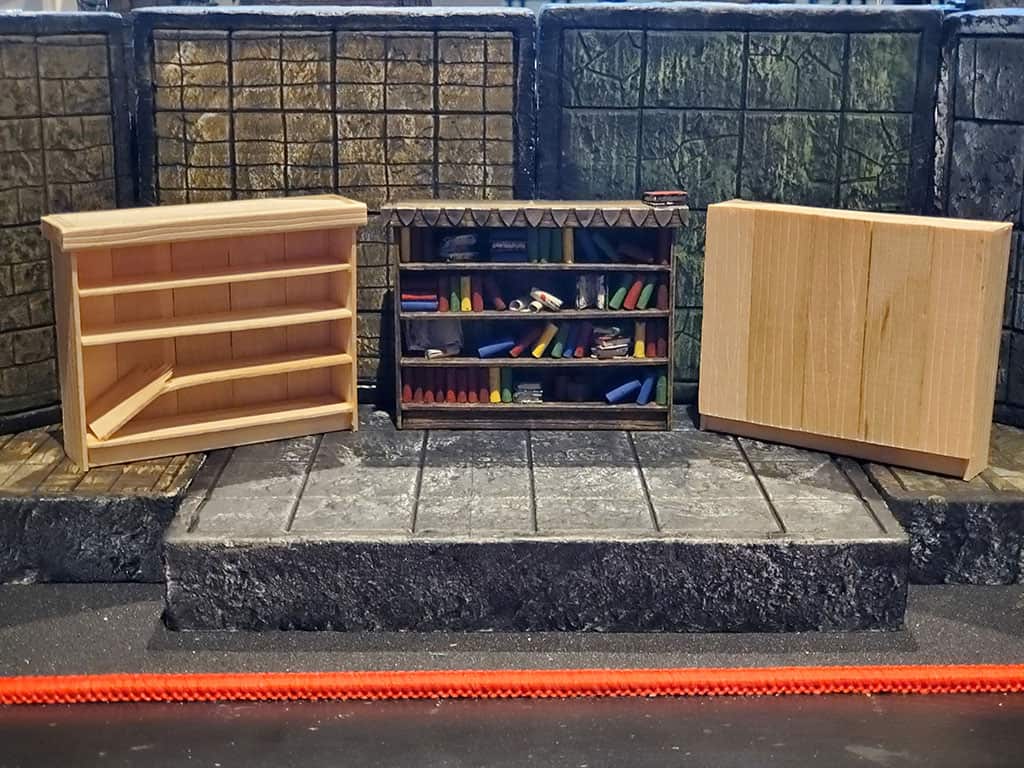
One of my shelves, I knew I wanted broken. I took this idea from another HeroQuest blog where I saw this done; about half way down the page you can see the bookcase inspired me.
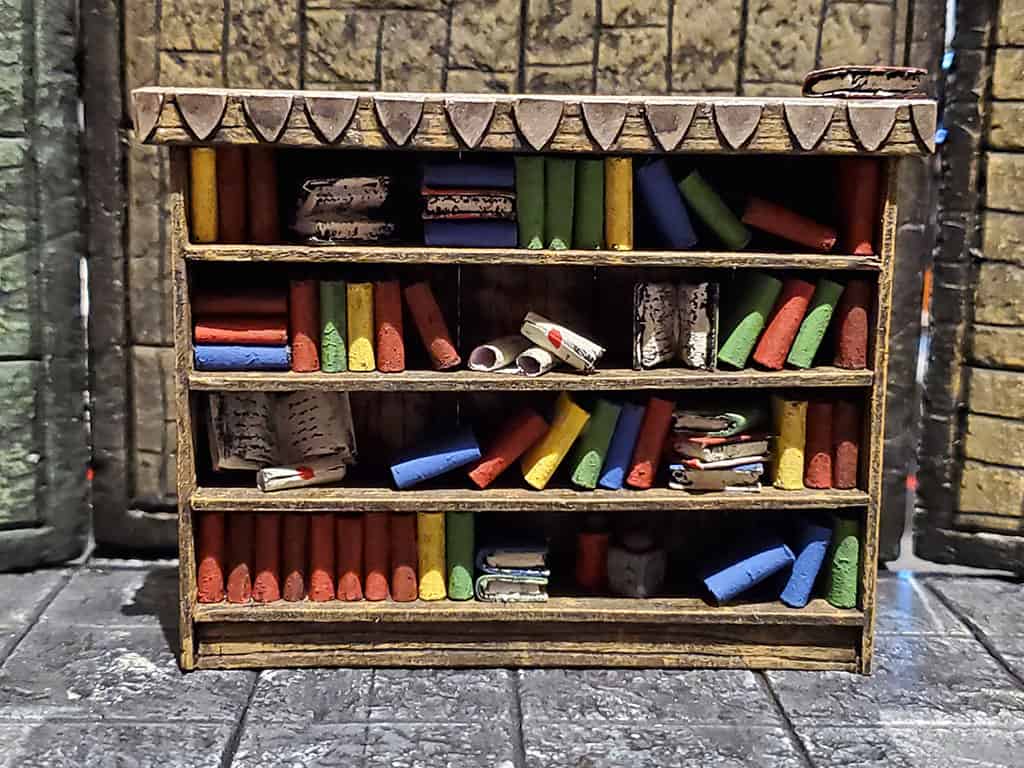
With my pieces measured, cut out, and textured; I started glueing it all together. Starting with the back, I glued 5 pieces together side-by-side. Once it was dry, I added the four outside sides and let that dry. On the bottom I used a coffee stirrer as the toe kick, and around the top I applied pieces of coffee stirrer on three of the sides, excluding the back. Along the top, I cut out pieces of cereal box to use as embellishments. I did this 3 times and set one aside for the cupboard.
On the two bookcase units, I added three tongue depressors inside to form the shelves. Next was the paint job. I followed the same painting scheme that I used for my previous wooden pieces. Then I tested the fit of the books. I should have done this sooner. If it didn’t work now, I would have to start over.
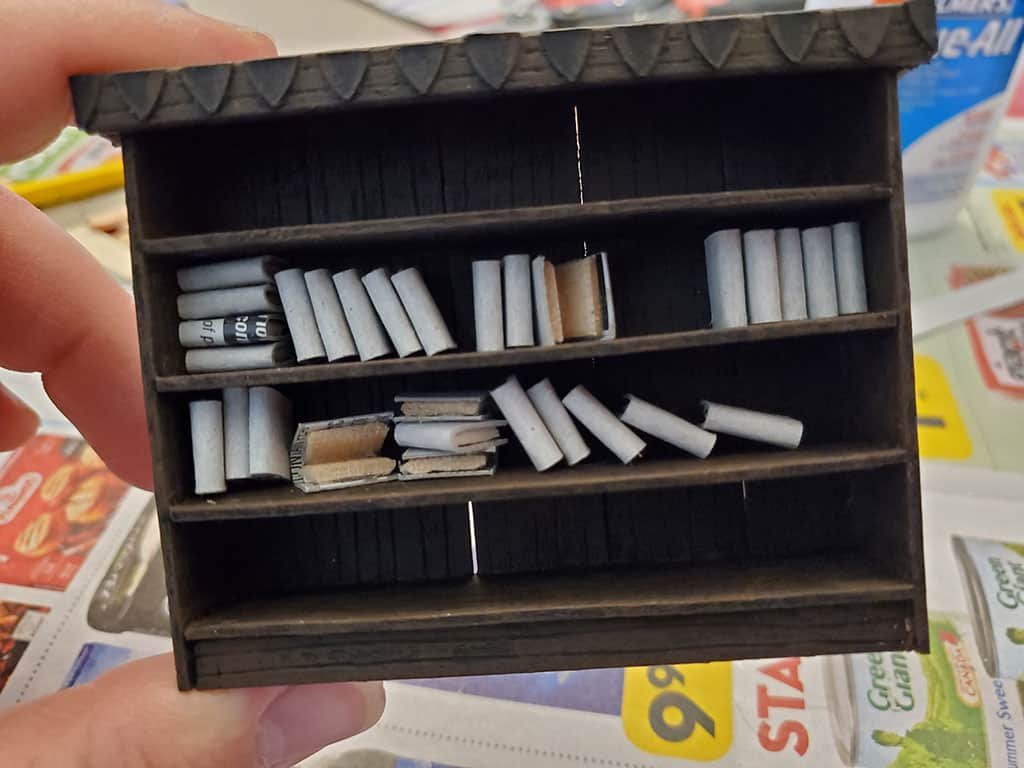
After test fitting the books, then painting the books, it was time to glue them in. I used plain white glue; I wanted something that had a longer working time, so I had time to make mistakes.
The Cupboard
Starting where we left off, setting aside one of the three bookcase shells. I found that the shell lacked structure, so I placed one horizontal piece in the middle to give it strength.
After completing one bookcase, I discovered that the small cardboard books added a lot of weight and that my cupboard was going to be light as a feather next to it. I raided my spare hardware drawer and picked out some heavy-looking nuts and bolts. I glued in these in with some E6000.
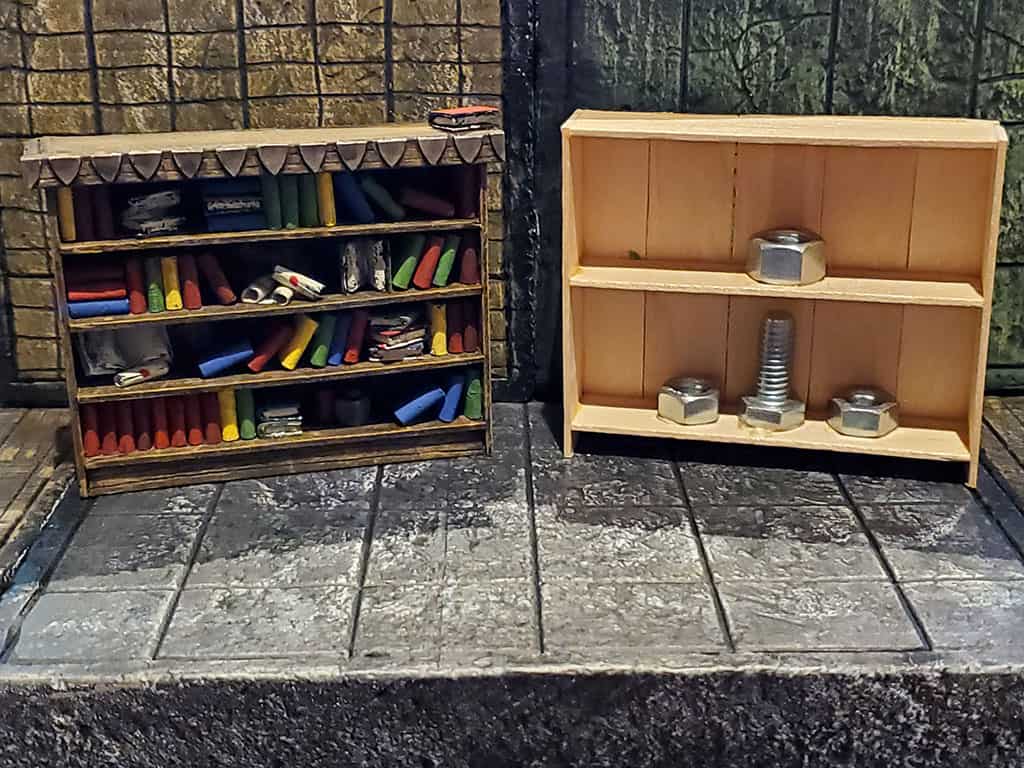
Make sure you let the glue dry on the hardware before you glue the front on. Otherwise you might need to pry the front off to re-glue one of the “weights” because it came loose and started bouncing around. I learned this from experience.
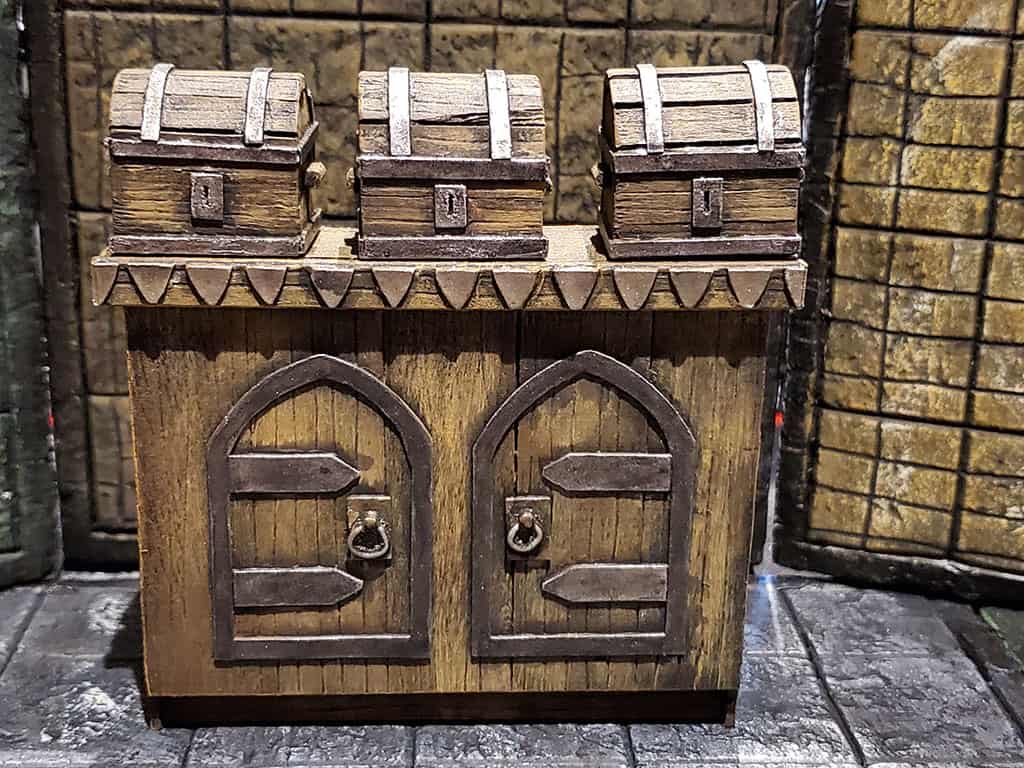
Securely adhere the front in the same fashion as the back and now it’s ready for doors. I cut the doors from some more cereal box in a design that I liked and glued the pieces to the front. Once all the glue is dry, it’s ready for some paint.
Here’s a picture of the final product along with some treasure chests that we’ll get to in a future episode.
I’m hoping to pick up a pack of those Citadel Skulls someday so I can further embellish my HeroQuest furniture.
As always, you can checkout the discussion for this project on the Ye Olde Inn forum. To see the rest of this project, check out my Custom HeroQuest Board crafting series.
Thanks for stopping by, hope to see you again soon.